
Cleaning Hacks to Restore White Plastic Cutting Boards
The Science of the Stain: Why Plastic Absorbs Color
If you've ever wondered why your pristine white board looks like a tie-dye project after one taco night, it comes down to materials science. Most professional-grade boards are crafted from High-Density Polyethylene (HDPE). While this food-grade plastic is chosen for its durability and blade-friendly texture, it isn't a solid, impenetrable block.
Understanding HDPE and Surface Porosity
On a microscopic level, HDPE has a specific surface porosity. As you use the board, factors like heat from the dishwasher or general wear-and-tear cause the plastic to expand and contract. This creates tiny openings where oils and liquids can seep in, leading to those frustrating deep-set stains that seem impossible to scrub away with a standard sponge.
How Knife Grooves Trap Pigments and Bacteria
The real trouble starts with your chef's knife. Every slice creates microscopic knife marks—small canyons in the plastic that serve as the perfect hiding spots for contaminants. This creates a cycle that compromises your kitchen hygiene:
Organic Pigments: Intense dyes from turmeric, beets, or carrots settle deep into these grooves.
Bacteria Buildup: These crevices are difficult for a standard brush to reach, turning your board into a potential site for cross-contamination.
Protein Residue: Invisible food particles get stuck, leading to odors and persistent discoloration.
Understanding that these stains are physically "locked" into the material is the first step. To achieve a true restoration, we have to use methods that penetrate these knife marks to lift the pigments and neutralize the bacteria buildup at the source.
Top 4 Cleaning Hacks for Restoring White Plastic Cutting Boards to Like-New Condition
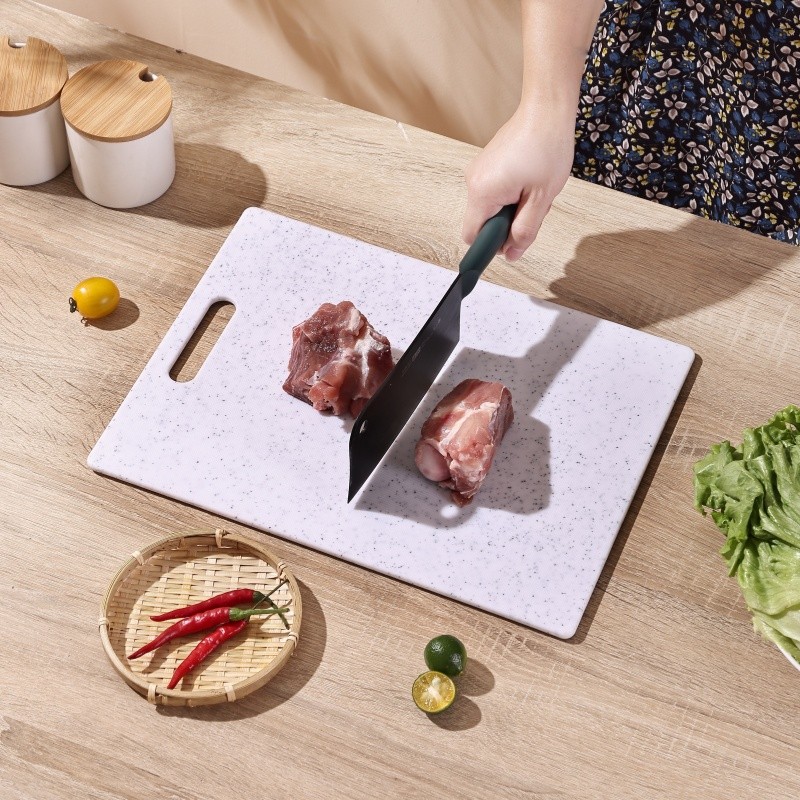
I've tested countless methods to keep my kitchen gear spotless, and these four hacks are the only ones that actually tackle deep-set stains and stubborn surface porosity. When you're working with a professional-grade cutting board with juice catcher, maintaining that pristine white finish is essential for both aesthetics and maintaining high food safety standards.
Hack #1: The Power Paste (Baking Soda + Hydrogen Peroxide + Dish Soap)
This is my go-to for boards that look "beyond saving." Baking soda acts as a natural abrasive, while hydrogen peroxide serves as a safe oxygen bleach to lift pigments from deep knife marks.
The Mix: Combine 3 parts baking soda, 1 part 3% hydrogen peroxide, and a squeeze of grease-cutting dish soap.
The Process: Spread the thick paste over the dry board and let it sit for at least one hour.
The Result: Scrub in a circular motion with a stiff brush and rinse with hot water to reveal a significantly brighter surface.
Hack #2: The Citrus & Sun Method (Lemon + Salt + UV)
For organic stains like turmeric or berry juice, I rely on the combination of acid and light.
Salt Scrub: Sprinkle coarse kosher salt over the board to act as a physical exfoliant for the food-grade plastic.
Lemon Juice: Rub half a lemon over the salt, squeezing as you go to release the citric acid.
UV Boost: Place the board in direct sunlight for 3–4 hours. The UV rays act as a natural bleaching agent that effectively whitens the plastic without harsh chemicals.
Hack #3: The Vinegar Deep Soak for Odor Neutralization
Even if a board looks clean, it can trap smells from onions, garlic, or fish. For effective odor neutralization, a deep soak is the most reliable path.
Submerge your board in a 1:1 solution of white vinegar and room-temperature water.
Let it soak for 30 minutes to break down residual proteins and neutralize alkaline odors that soap alone can't touch.
Hack #4: The 3% Hydrogen Peroxide Spa for Sanitizing Solution
Maintaining top-tier kitchen hygiene means going beyond just "looking" clean. To eliminate bacteria buildup within microscopic grooves, I use a peroxide spa.
Mist the board liberally with undiluted 3% hydrogen peroxide.
Let it fizz for 10 minutes—this bubbling action helps lift microscopic debris out of the knife marks.
Rinse thoroughly. This method is much safer for a foldable non-slip plastic chopping board than using concentrated bleach, which can cause the material to become brittle and prone to board warping over time.
Advanced Restoration: Dealing with Deep Grooves
When your white plastic board develops deep knife marks, standard wiping won't cut it. These physical indentations become permanent residences for organic matter, making advanced restoration techniques necessary to maintain a professional kitchen standard.
The Debate on Sanding Plastic Boards
I've seen many DIY enthusiasts suggest sanding down food-grade plastic to create a fresh surface. While this can physically level the board, it is a controversial move. If you use a coarse grit, you risk creating microscopic "fuzz" or shaggy edges that trap even more bacteria buildup.
The Verdict: Only sand as a last resort.
The Method: If you must, use a very fine-grit wet/dry sandpaper (400 grit or higher) to ensure the surface remains non-porous.
Post-Sanding: Always follow up with a heavy-duty sanitizing soak to remove any loose plastic micro-particles.
Using a Restoration Brush for Deep-Set Stains
A standard kitchen sponge is often too soft to reach the bottom of narrow grooves. To truly tackle deep-set stains, I recommend a stiff-bristled restoration brush or even a dedicated heavy-duty grout brush.
Apply your cleaning paste directly to the grooves.
Scrub in a circular motion to agitate the pigments out of the HDPE pores.
Identifying Irreversible Bacteria Buildup
There is a definitive "point of no return" for any plastic surface. Restoration has its limits, and safety must come before aesthetics.
| Sign of Trouble | Assessment | Action |
| Lingering Odors | Bacteria have penetrated deep into the board's core. | Discard |
| Deep Black/Grey Pitting | These are likely mold colonies within the knife tracks. | Discard |
| Surface Warping | The board no longer sits flat, creating a slip hazard. | Discard |
If your board is heavily scarred and no longer responds to a sanitizing solution, the structural integrity is gone. In these cases, it's best to consult with a Kitchen Plastic Cutting Board Manufacturing expert to find a more durable, professional-grade replacement that can withstand heavy daily use without degrading.
Pro Maintenance: Prevention is the Best Cure
Keeping your boards in top shape isn't just about the deep clean; it's about daily habits that stop damage before it starts. I've found that a few simple tweaks to your kitchen workflow can double the lifespan of your gear and maintain high food safety standards.
The Immediate Rinse Rule
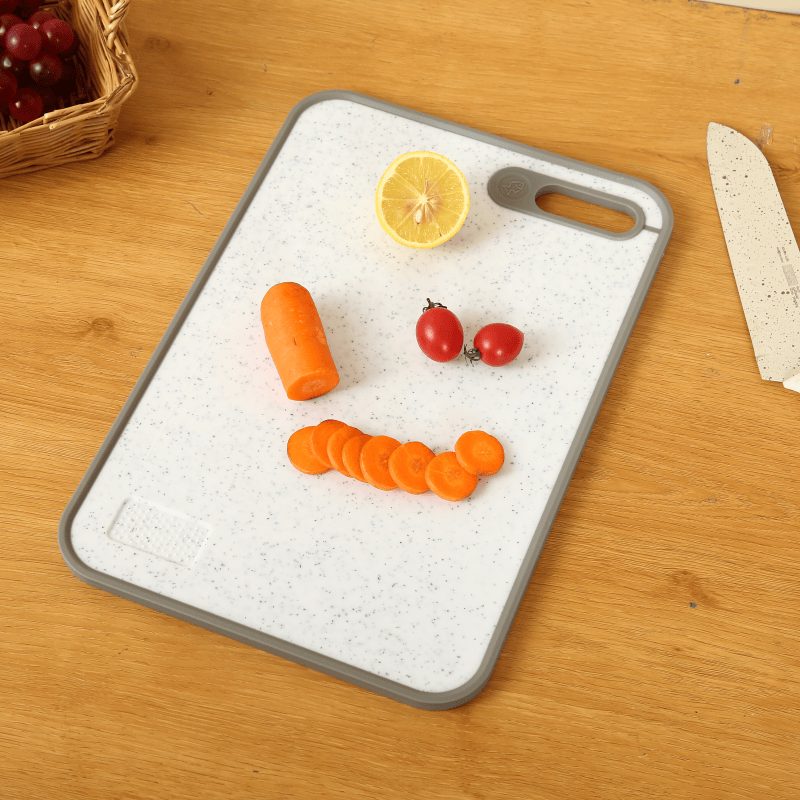
For food-grade plastic, time is the enemy. I always recommend a quick rinse immediately after use—especially after cutting "stain-heavy" items like carrots, beets, or peppers. This prevents organic pigments from settling into the Polyethylene (HDPE) surface before you even get to the sink. By rinsing right away, you stop the stain from migrating into the material’s surface porosity.
Preventing Board Warping
While many modern boards are labeled dishwasher safe, the extreme heat of the "heated dry" cycle is a common cause of board warping. A warped board is a safety hazard because it won't sit flat on your counter. To keep your surface stable:
Hand wash with warm, soapy water for daily tasks.
If using a dishwasher, skip the high-heat drying cycle and pull the board out to air dry.
Store boards vertically in a rack to ensure even airflow on both sides.
Rotate to Reduce Knife Marks
Most people tend to chop in the exact same center spot every time. I suggest rotating your board 180 degrees or using both sides regularly. This spreads out the knife marks and prevents a single deep "valley" from forming in the plastic. Distributing the wear makes it much harder for deep-set stains to take hold. Understanding how to choose a suitable antibacterial cutting board can also help you start with a surface that is naturally more resistant to deep scoring and cross-contamination.
When to Retire Your Board for Kitchen Hygiene
Even with the best cleaning hacks for restoring white plastic cutting boards to like-new condition, there comes a point where a board becomes a liability rather than a tool. I always tell my customers that if you can't scrub the stains out of deep knife marks, those grooves are likely harboring a bacteria buildup that standard sanitizing can’t reach. At this stage, your kitchen hygiene is at risk, and a replacement is the only professional choice.
The Safety Checklist for Replacement
I recommend inspecting your boards every few months. If you notice any of these red flags, it's time to retire them:
Deep, Frayed Grooves: If the surface feels "fuzzy" or has pits deep enough to trap food particles.
Persistent Odors: When the board still smells like old garlic even after an odor neutralization soak.
Significant Warping: A board that doesn't sit flush on your counter is a slip-and-cut hazard.
Irreversible Staining: If deep-set stains remain after using professional-grade whitening methods.
Choosing High-Density Material for Food Safety
When it's time for an upgrade, you want a material that actually lasts. I suggest looking for high-density polyethylene (HDPE) because it offers superior durability and a non-porous surface that resists liquids. This food-grade plastic is the industry standard for a reason—it stands up to heavy chopping while meeting the highest food safety standards.
For daily home use, choosing a quality BPA-free veggie board ensures your prep surface is easy to sanitize and less prone to the deep scarring that leads to cross-contamination. Starting fresh with a high-quality board is often the smartest move for long-term health and efficiency in the kitchen.
Frequently Asked Questions: Keeping Plastic Boards Like-New
Can I use bleach on my white plastic cutting board?
Yes, you can. A diluted sanitizing solution is the industry standard for maintaining food safety standards. I recommend mixing one tablespoon of unscented liquid bleach per gallon of water. Soak the board for a few minutes, then rinse it thoroughly with clean water. This helps lift surface yellowing and kills any lingering microbes that soap might miss.
How do I remove stubborn turmeric or beet stains?
Vegetable pigments are notorious for bonding with polyethylene (HDPE). To fight back, use a natural abrasive like a baking soda paste mixed with a little lemon juice.
For quick prep: On smaller items like custom mini cutting boards, scrubbing with a salt-and-lemon mixture immediately after use prevents the pigment from setting.
For deep-set stains: Apply the paste and let it sit for 30 minutes before scrubbing with a stiff brush.
Is it safe to use a stained board if I've sanitized it?
A stain doesn't always mean the board is "dirty," but it can be a warning sign.
Pigment Stains: If your board is just discolored from carrots or beets but the surface is smooth, it is safe to use.
Structural Stains: If the color is trapped inside deep knife marks, you have a problem. Those grooves are breeding grounds for bacteria buildup and increase the risk of cross-contamination.
| Feature | Condition | Action |
| Surface Color | Light staining, smooth surface | Sanitize and continue use |
| Texture | Deep grooves, fuzzy plastic fibers | Sand down or replace |
| Odor | Persistent "funky" smell | Vinegar soak or retire board |
If your large cutting board has reached the point where stains won't budge even after a bleach soak, the surface porosity has likely increased too much for home cleaning to be effective. At that stage, prioritizing kitchen hygiene means it's time for a replacement.
If you have interested in any cutting board, please feel free to contact sales@chopaid.com at any time

